Here’s a FUN way to practice making your glass flowers from your Tutorial 103 & make something fabulous… “Fairy Gardens”
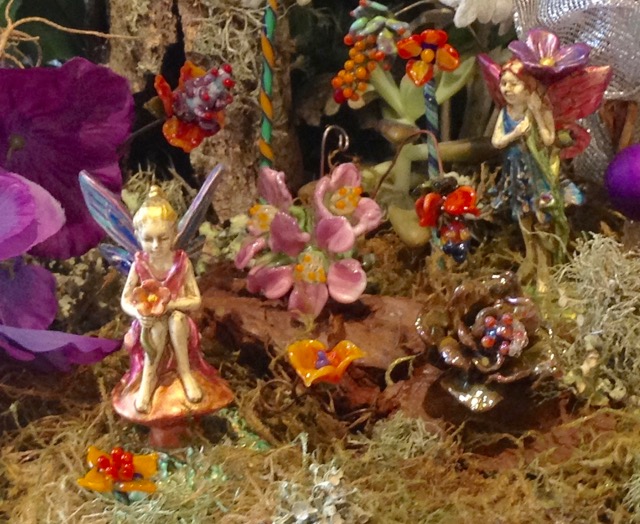
Fairy gardens are so precious but finding unusual flowers befitting a mystical miniature garden is next to impossible. So I decided to make my own exotic flowers worthy of my fairy gardens and you can too!
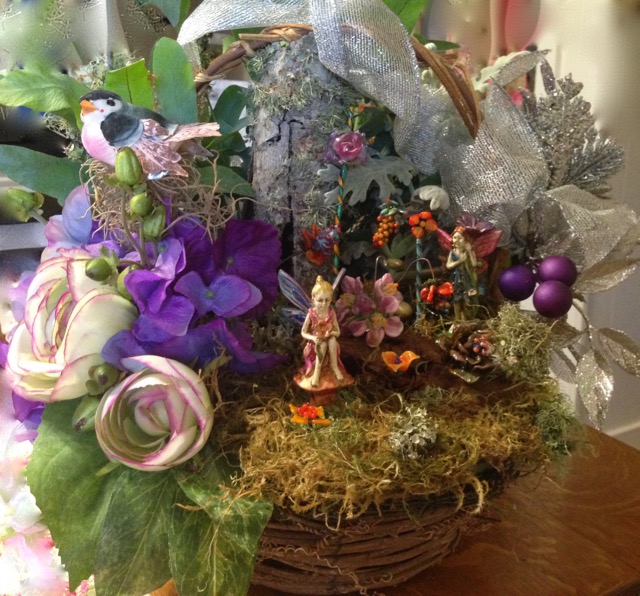
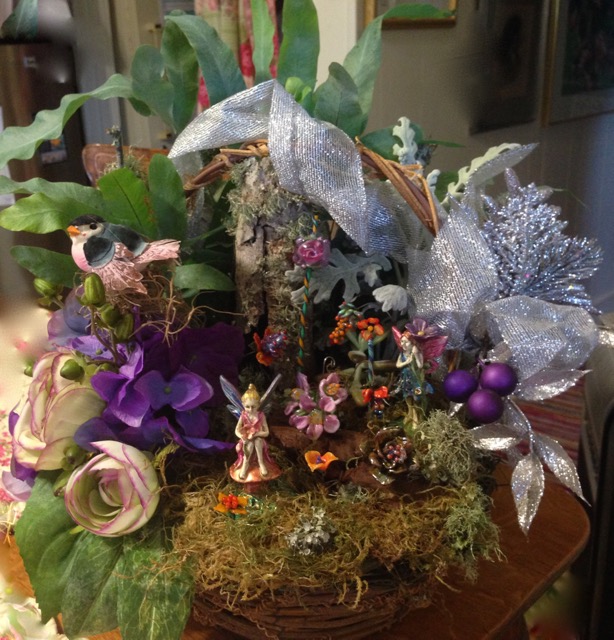
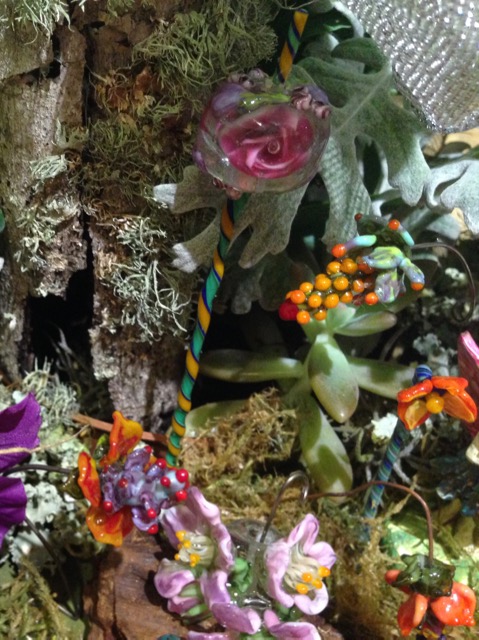
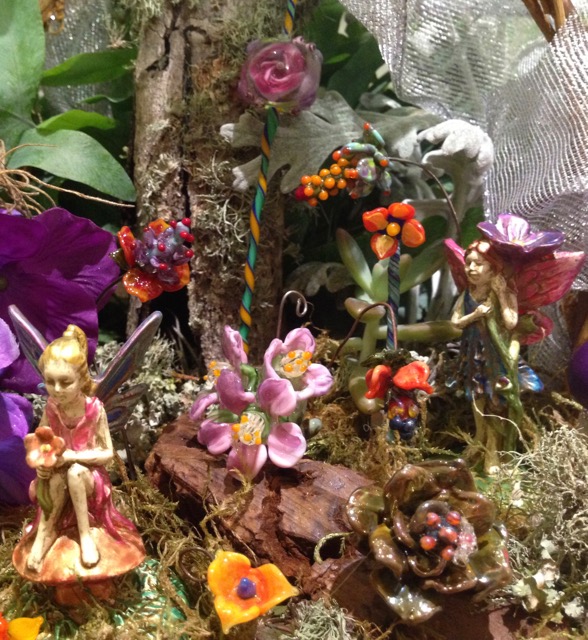
Front view. Artificial flowers with bird gives a perspective in size difference of the magical Fairy kingdom.
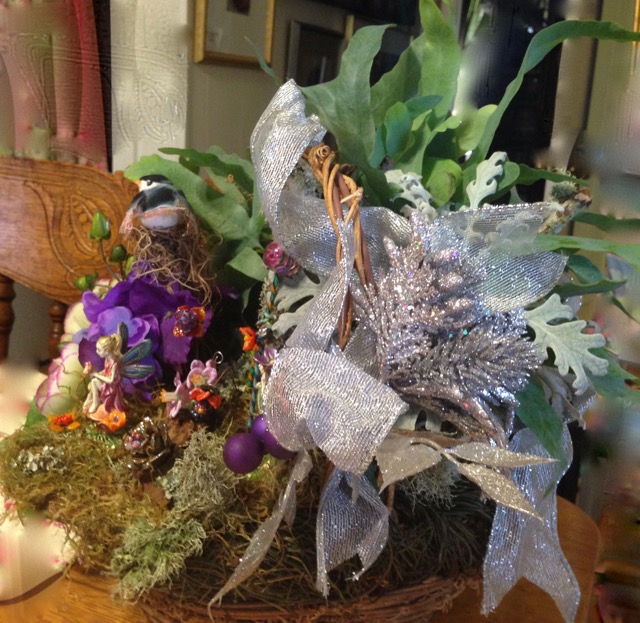
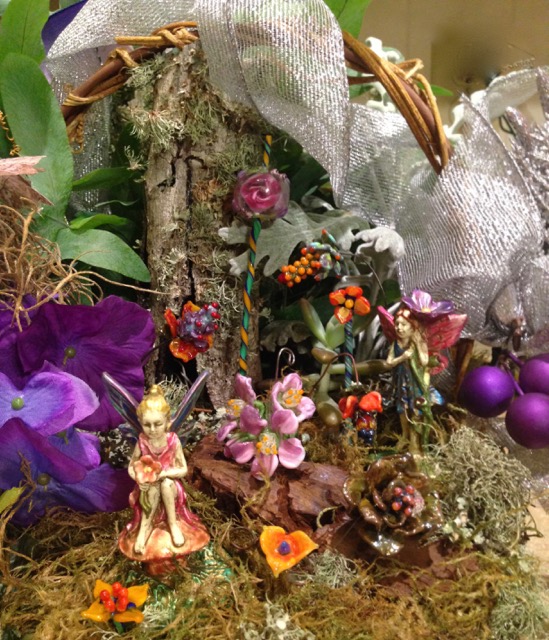
Side view of my fairy garden. I used sparkly silver Christmas ribbon & greenery for pizazz!
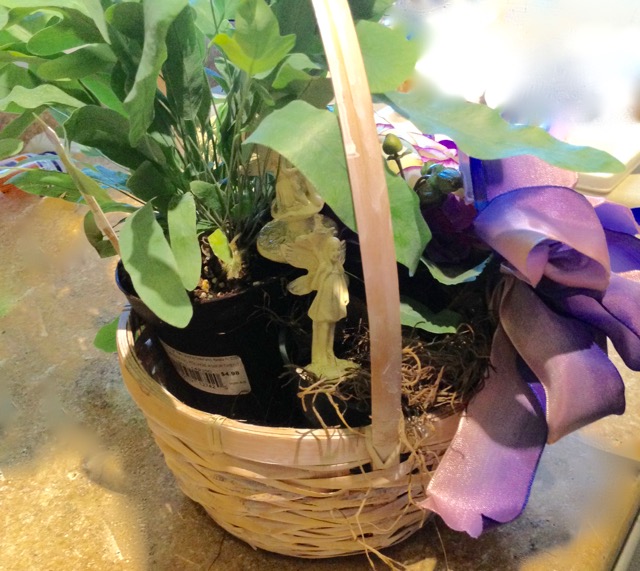
Get started with a basket, a small plant or 2 in pots. Put a plastic saucer in bottom of basket to catch water.
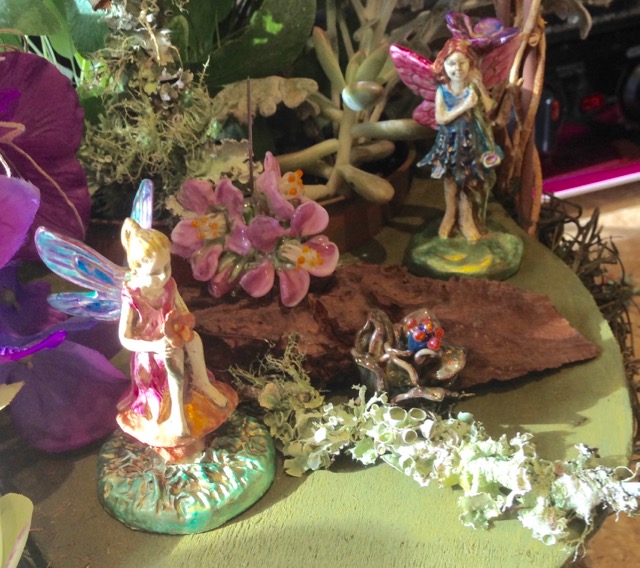
I purchased tiny fairies from Hobby Lobby and painted them with iridescent & pearl acrylic paints that come in the little bottles.
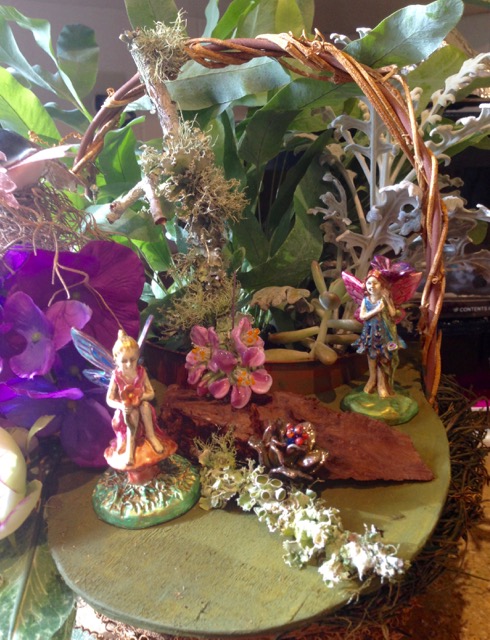
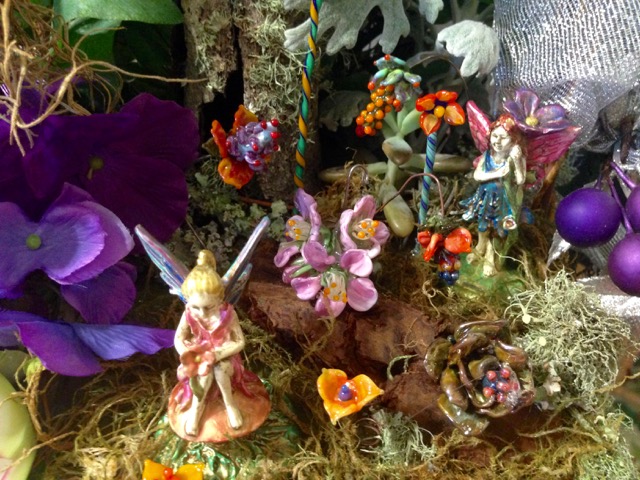
I made a circular balsa wood platform for my Fairy scene that fitted inside the basket and protruded past the basket’s edge.
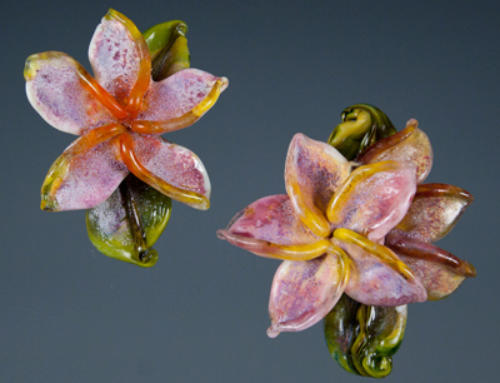
The lampwork techniques for the fairy garden flowers are the same techniques I taught you in Tutorial 103. (You learned 3 & 4 petal flowers.)
How to Make Fairy Garden Flowers on Wire…
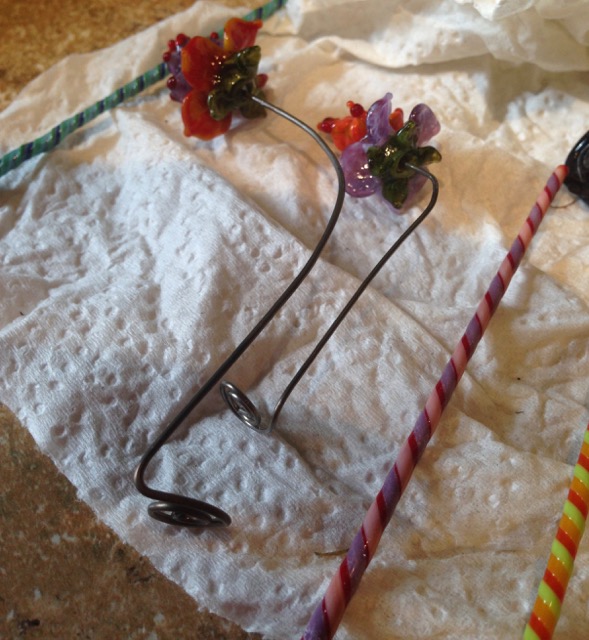
1. I start with steel wire. About 4 inches long is good.
2. Use a pin vise to hold the wire. The wire will conduct heat down the wire as you work on the end in the flame. I try to keep my pin vise about a 1 ½ from the flower I’m making to keep the wire from bending as I manipulate the flower. ***TIP-Too much heat will overheat a metal pin vise and burn you, so be careful. You can wrap your pin vise handle with material to insulate it against the heat.
3. It’s easier to keep your flame smaller while you get used to working tiny-tiny.
4. Heat about ¼ inch of the tip of the wire. (just until it glows red). If you over heat the wire in the flame too long, you’ll melt the wire off.
5. Put a ¼ inch dot of molten glass over the end of the heated wire, (the wire should be slightly glowing). If the wire is too cold, the molten glass will not attach securely.
6. Now, follow the directions in Tutorial 103 and make your 3 or 4 petal flower on the wire.
7. Remember to keep reheating where the glass meets the wire or the glass will crack.
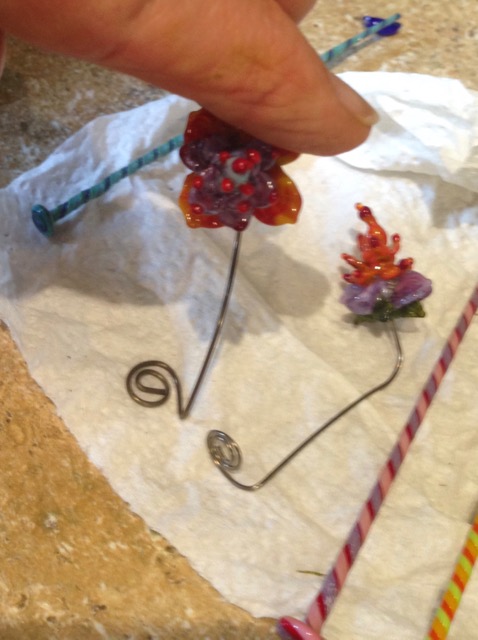
I curled the end of the wire for more stability. I hot glued this to the platform.

Slowly heat up an end of a twisty into a marble size ball. Then smash to make it flat. Stick in a heated kiln and anneal overnight. The next day, take that annealed twisty’s other end, slowly heat into small ball for the flower’s center and add petals to form a flower. Angle twisty to resemble a stem. Anneal again. (2 day project)
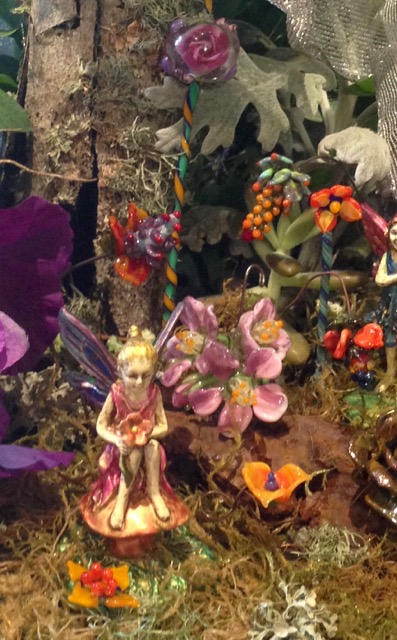
I glued encased flower beads on twisties, then glued the flat base down.
Take some of your Tutorial 103 flowers & glue the backs together to make a cluster. (Like the pink flowers)
Cover the flower bases with moss.
Give small Fairy gardens to friends and family for any occasion. They are so precious & unique. Succulent plants don’t need much water so they’re great for fairy gardens.
Added Bonus… Making ‘Fairy Gardens’ qualifies for one of the 10 Tips to help you combat the “Winter Blues”. You can find out about the 10 tips in my How to get rid of winter blues.
I added tree bark, lichen & ball moss from my yard.
Love making your miniature glass flowers? There are tons of Fairy garden enthusiasts out there! Just a thought. :)
Did this stimulated your creative juices on how to use what you learned in my Flower Tut 103? Check out the tutorial if you don’t have it!
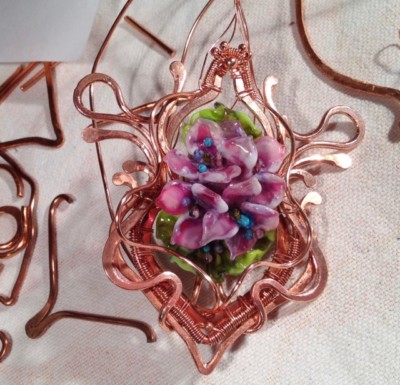
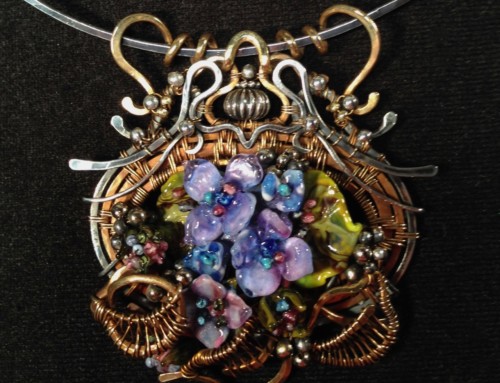
More ideas for flower head pins. Check out how I used floral wire head pins in my ‘blue hydrangea pendant‘!
– Patsy
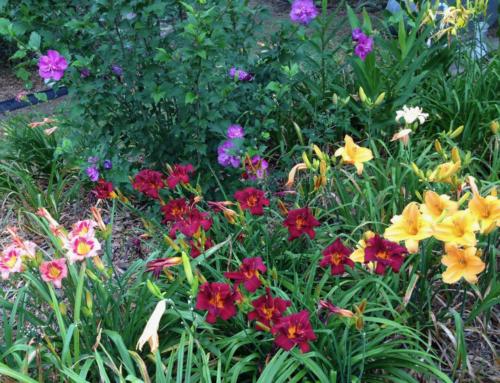
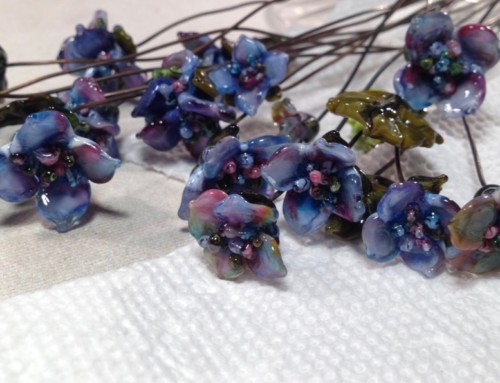
P.S. I’m working on a NEW jewelry collection using Tutorial 104’s Hydrangeas. Here’s a peek! Still a ways to go! :)
Not getting my newsletters?
Want my best stuff first & exclusive offers?... Click Here to Join Now!
 Psst...
Love my posts? I share all my secrets of over 20 years of lampworking in my tutorials!
Check out my Lampwork Tutorials HERE!
Want to wear my gorgeous glass art? You can shop my Glass Art & Jewelry HERE!

Leave A Comment