You’re going to learn how to reduce silver glass in these lampwork tutorials, today.
I’ll be talking about the different flames you need to use, what to watch out for before you loose your gorgeous shiny silver reflections…..sh#@*t… and how to start over again! :)
Here’s my reducing silver video…enjoy…
It’s hard to include everything you need to know when I write my lampwork tutorials (OMG… they would be encyclopedias!) so I want to share tips & tricks that will supplement my tutorials in these blog posts.
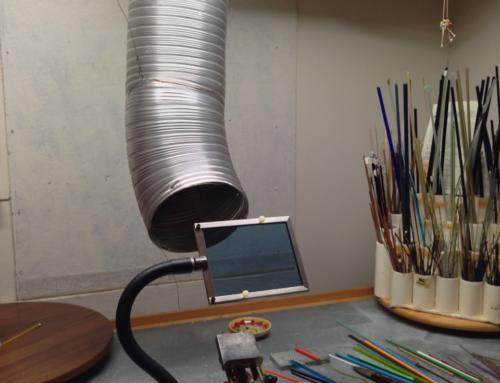
Freebie lampwork tutorials: Torch flames
The flames are really important so I want to talk about the different flames…
Oxidizing Flame…
This flame has more oxygen in it by turning your oxygen up… propane down. You will hear a hissing sound and the flame will get narrower. You should use this type of flame to get the least amount of reduction from the glass.
When to use an oxidizing flame?
Use an oxidizing flame on glasses that reduce easily that you don’t want to reduce… such as most of the pinks. Most of the different glass companies have their own pinks and they have the tendency to produce yucky black scum on the glass.
If your torch naturally tends to reduce like minor burners… you’ll run into problems with these colors. Using a more oxidizing flame will help reduce the black scum. (On the bright side, minor burners are heavenly when you want to create reduction on your bead with the silver glass.
The draw back with an oxidizing flame is that the flame gets smaller and shorter, so it’s harder to keep the whole bead hot. You’ll have to find the “sweet spot” between neutral & oxidizing flames to get rid of the reduction and keep your flame larger. Practice, Practice! :)
Cool TIP:
The more down the flame and away from the torch head you work… the more oxidizing the flame gets!
I’ve been told the reason why is the oxygen and propane have time to mix better. Whatever the reason…I do find it works better for me sometimes. Give it a try!
Neutral Flame…
The neutral flame is your work horse flame. This is the hottest of the flames! You want to use this flame shaping your bead and application of decoration, such as stringers. Also the silver glass, before you strike or reduce, should be worked in this flame.
You want the flame candles to be mostly blue and the very tips light yellow.
Tweak your propane & oxygen knobs until you get a nice neutral flame.
Reducing Flame…
Reducing flames have more propane gas in the flame and is a cooler flame.
Cool TIP:
Not sure if your flame is a reducing flame? Put a rod of white in the flame. The tail tail sign if it’s a reducing flame is you’ll get a brownish haze on the white glass. (other colors create their personal effects such as reddish color on turquoise).
Cool TIP:
What’s happening is the reduction flame is bringing metals in the glass to the surface. That’s why we reduce silver glasses!
There’s 2 ways to achieve a reducing flame…(or is there 3)?
Turn up the propane, which creates a larger flame with more force. The flame gets bigger and the blue around the flame gets bigger.
Turn down the oxygen. Your flame with get smaller and the blue around the flame gets smaller. The flame is softer and not as forceful.
(3rd) Actually, I tend to fiddle with both knobs until I get the flame I need to reduce the glass I’m working with. Sorry if that is vague, but some glasses are just more of a pain in the butt to reduce… so you got to fiddle. Some glass even reduce in a flame bordering on neutral! Practice, practice!!
So there you have it. My little lampwork tutorials on flames!
@@@@@@@@@@@@@@@@@@@@@@@@@@@@@@@@@@@@@@@@
Here’s some photos of my demo beads for a better look...

Demo beads

Demo beads
Steps for Reducing Silver Glass:
1. Work in a neutral flame to make your bead
2. Cool the bead so it doesn’t have any orange glow (check under table)
3. Up the propane or lower the oxygen or fiddle with both until you get a NICE reduction flame that your glass bead likes….aahhhhh…silver shine!
4. Play with where you put the bead in the flame…in the yellow bushy part or towards the end part of the bushy part.
5. Bob in and out of the flame… Check what’s happening
6. Don’t let the bead get too hot!
7. Don’t over do it or it will go milky… itchy…unless you want that!
8. Pop that baby in the kiln and take a bow!
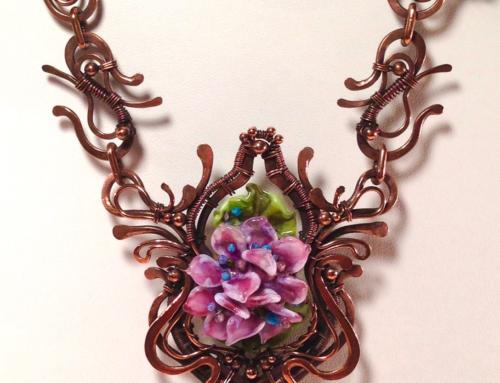
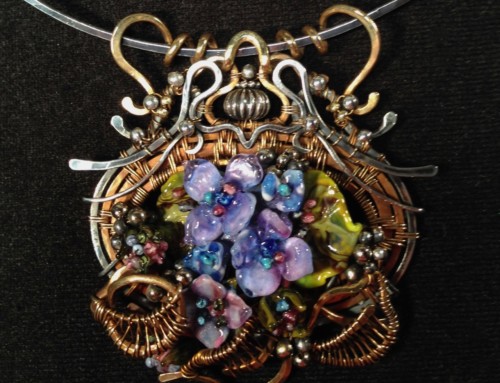
I did some really cool flower beads using silver glass with one of my lampwork tutorials…Tutorial 103. If you have that tutorial, give it a try.
What’s Tutorial 103 about?… it’s a lampwork tutorial on how to sculpt 3 & 4 petal flowers, how to make leaves, how to use enamel and a whole bunch of color theory that makes my glass beads to die for! (sorry… but I’m a little biased!) :)
OK… what you think? Ready to dive in and start silvering the world?
Found these video demoing lampwork tutorials helpful??? Spread the love with others below!
Patsy :)

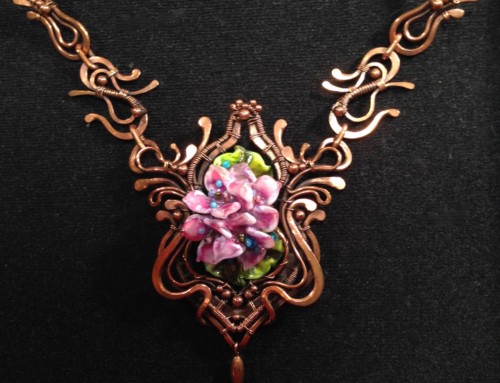
I used Terra Nova 2 & Aion on white on these flowers

Leaves have Gaia & Aion. Silvering doesn’t show up very much in photo but they are silvery.

Double Helix Nyx on black
Not getting my newsletters?
Want my best stuff first & exclusive offers?... Click Here to Join Now!
 Psst...
Love my posts? I share all my secrets of over 20 years of lampworking in my tutorials!
Check out my Lampwork Tutorials HERE!
Want to wear my gorgeous glass art? You can shop my Glass Art & Jewelry HERE!
Love all the info! Please keep it coming.